LJ [Odd Premise]
Well-Known Member
Final Image Preview:
So here I am to show you how to make a banner that doesn't look terrible and is still easy to pull off. Turns out random game renders shoved into a template file does not actually look good. Yes, I'm using Ps but this should be follow-able in GIMP. I used GIMP once and hated it, so if a stage doesn't work don't kill me and use your brain please. For example, I don't know if GIMP can do guides, and you may have to search for where to find menu items.
Also I've had to remove any download links due to Communism, Terrorism, and YTtalk censorship.
STEP 1: OPEN UP GIMP OR PHOTOSHOP
STEP 2: OPEN BANNER TEMPLATE
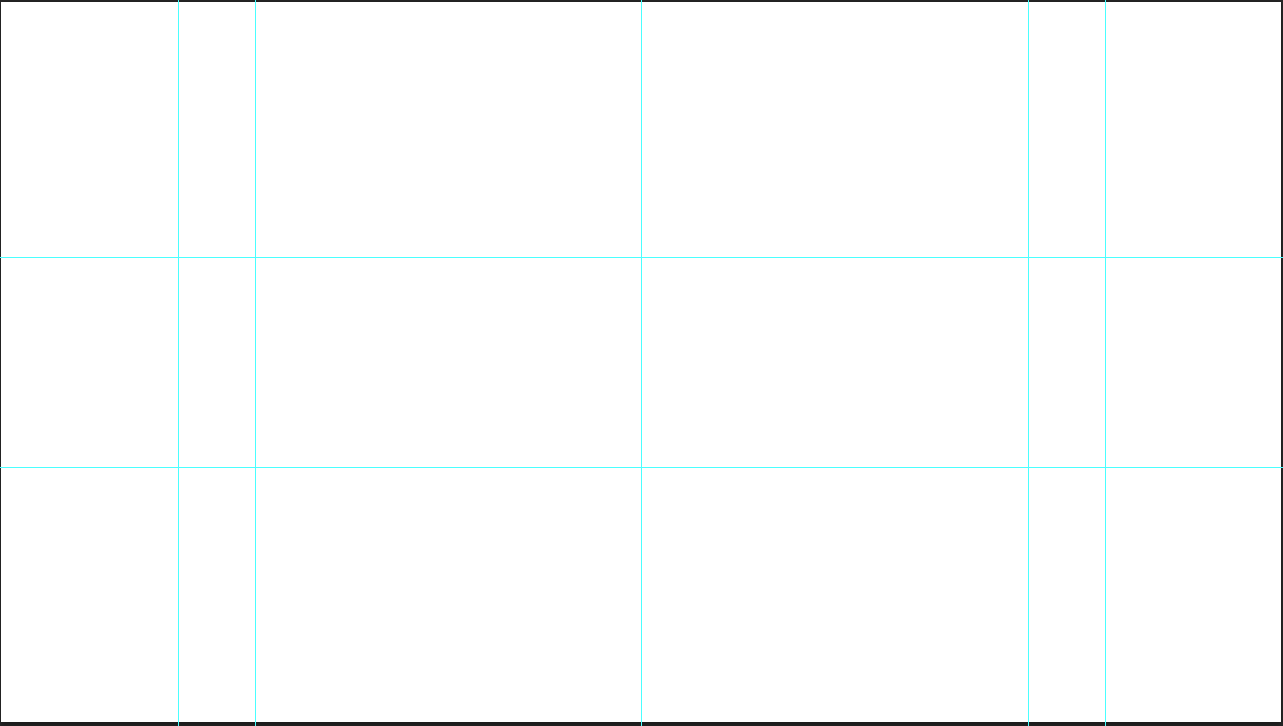
I use mStoner's template. but any template will work as long as it shows you the different areas.
What you should see is this:
No? Well then, what you need to do is view>show>guides
STEP 3: LAYER SETUP
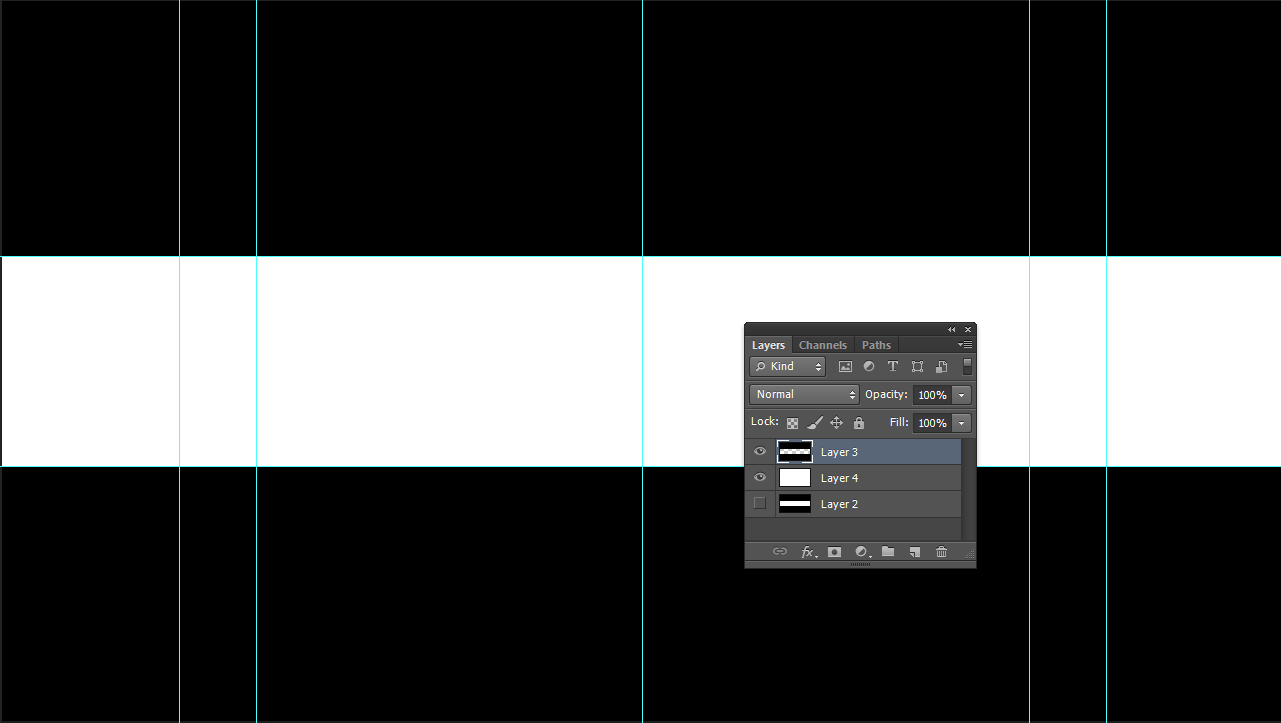
Make a new layer, drag it in front of the background. Now use the select tool like I did in the picture below,
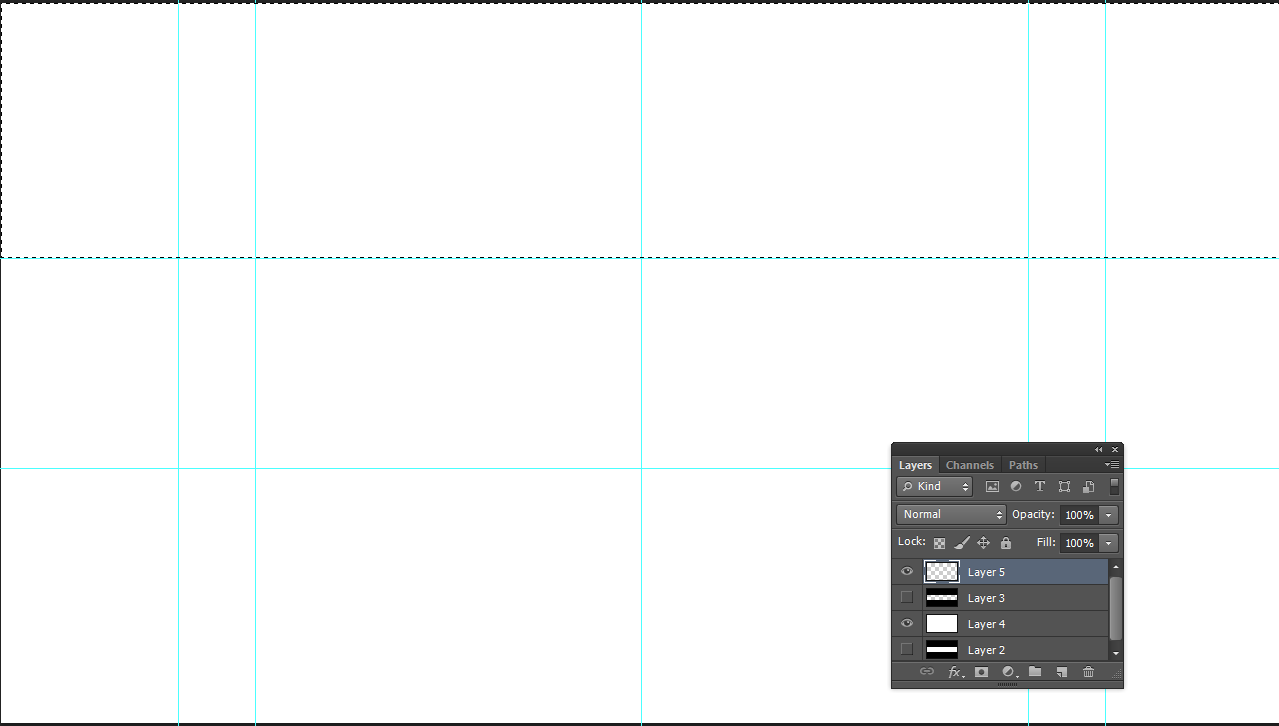
Now fill this section in with black
Repeat with the lower half until your layers setup is similar to below
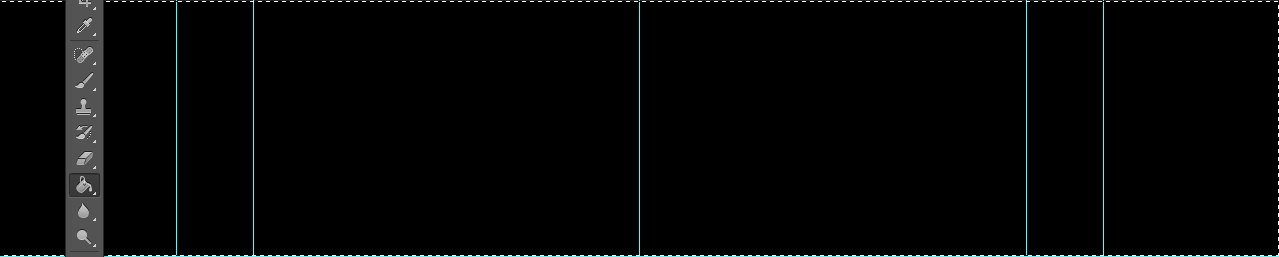
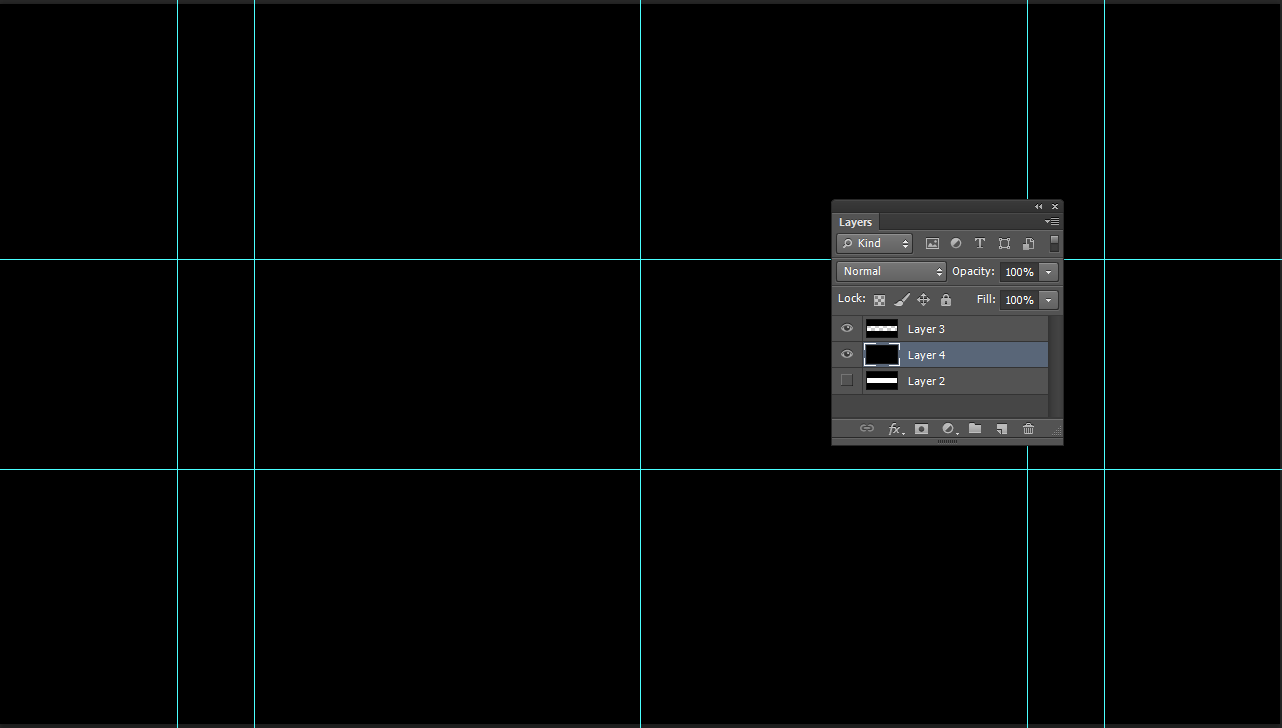
STEP 4: COLOUR
Select the white section and with the paint bucket, again fill this area in
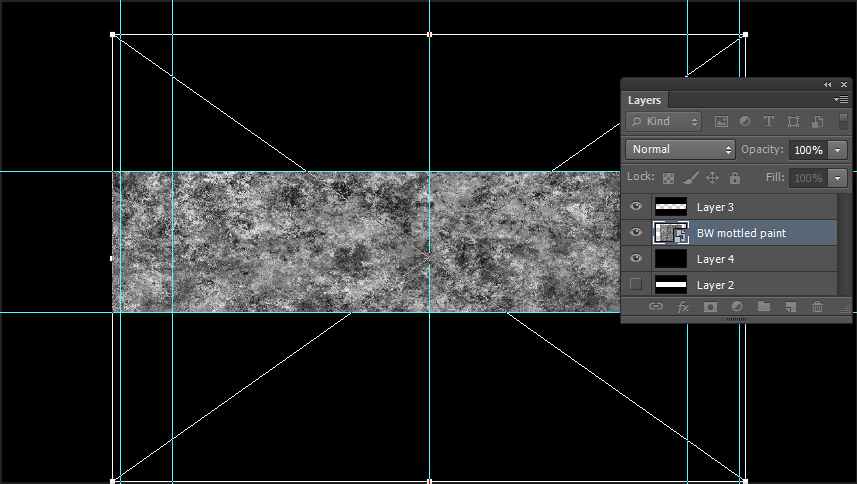
STEP 5: TEXTURE
"black-white-mottle-paint-texture" Download this pack of textures from Brusheezy (search for it or use a similar one), then open the jpeg in your document by going file>place>(bwmottled.jpg location)
Drag the file into the center, and hold SHIFT while dragging the corners out to make it fit the banner. It should look like this at first,
Then like this (layer should be above coloured layer)
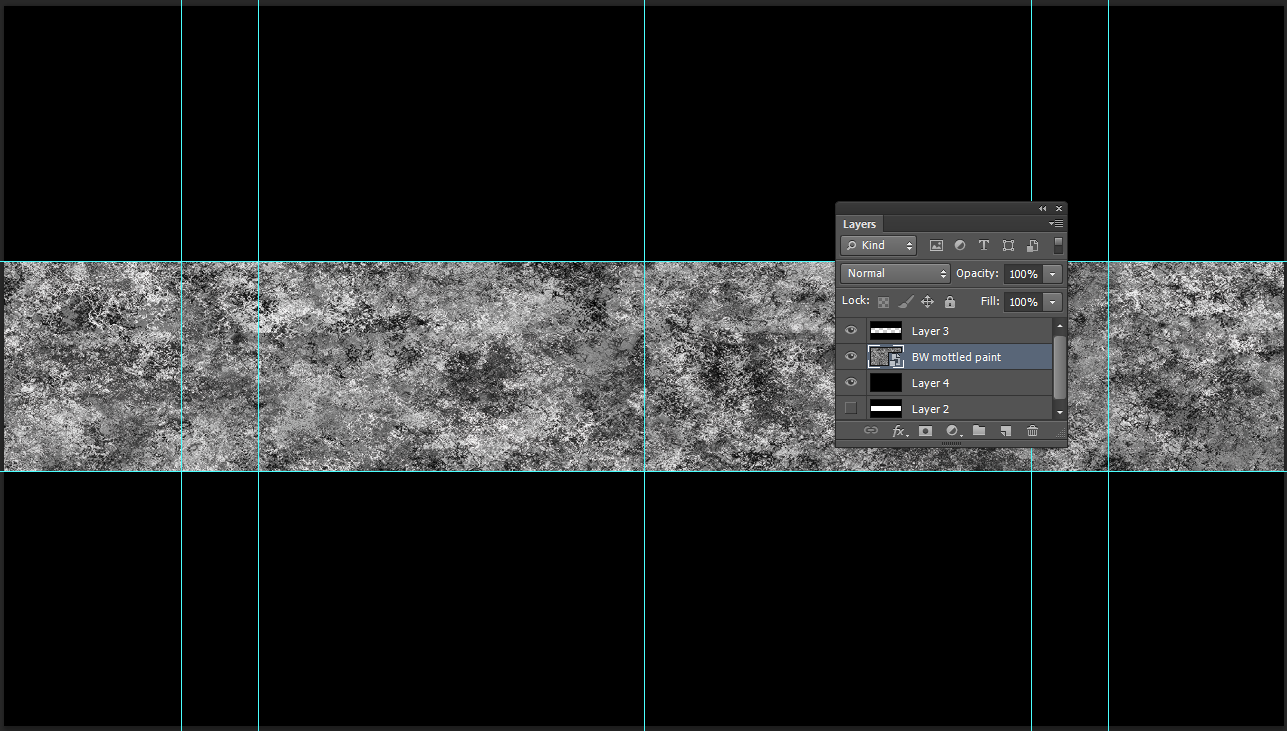
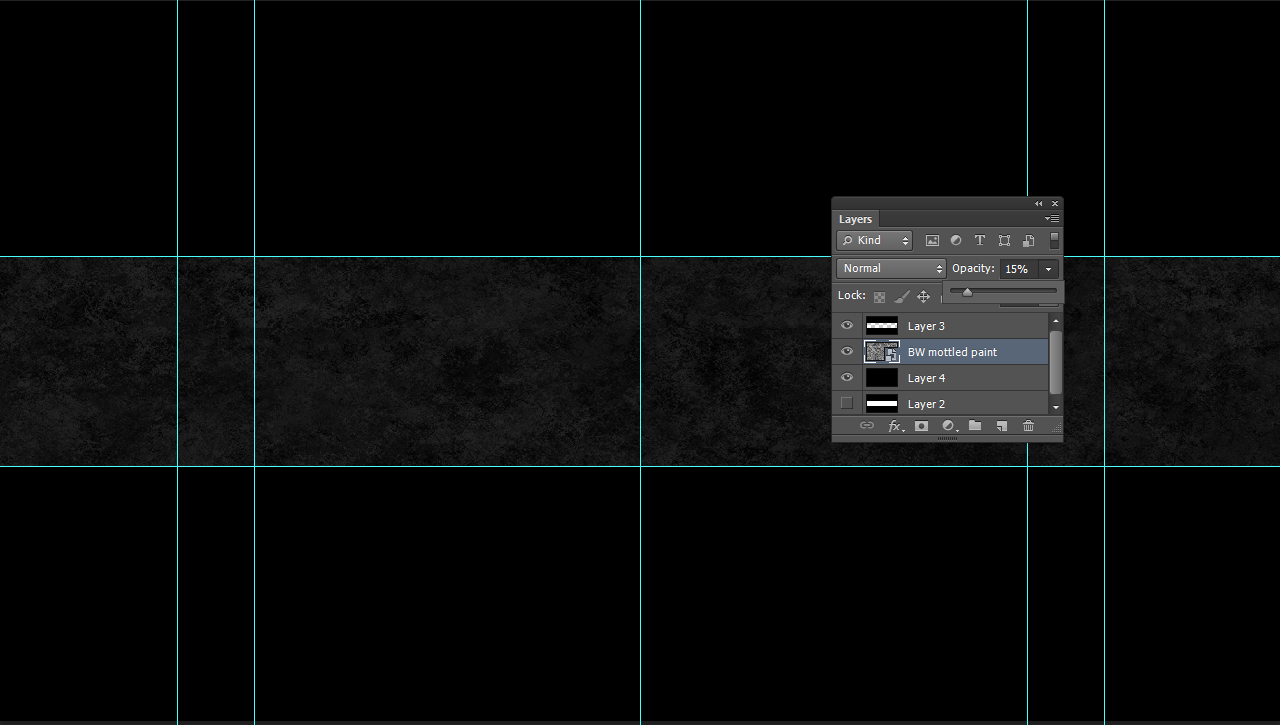
Now, go to the layer and lower opacity to 15%
STEP 6: ADD TEXT
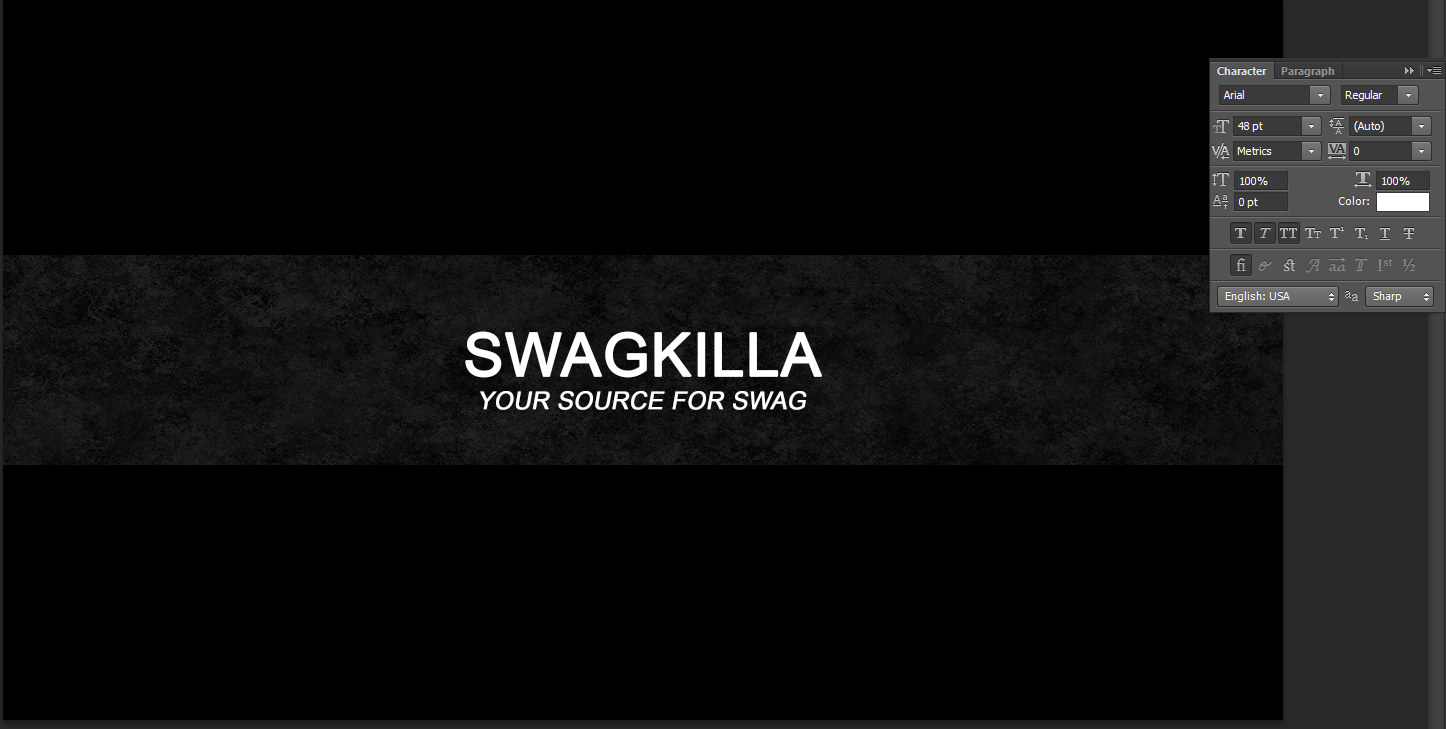
Using the text tool, start typing your channel name - here I have used Arial Font (installed on most machines), size 120pt, anti-aliasing sharp. Center the text.

STEP 7: CENTER TEXT
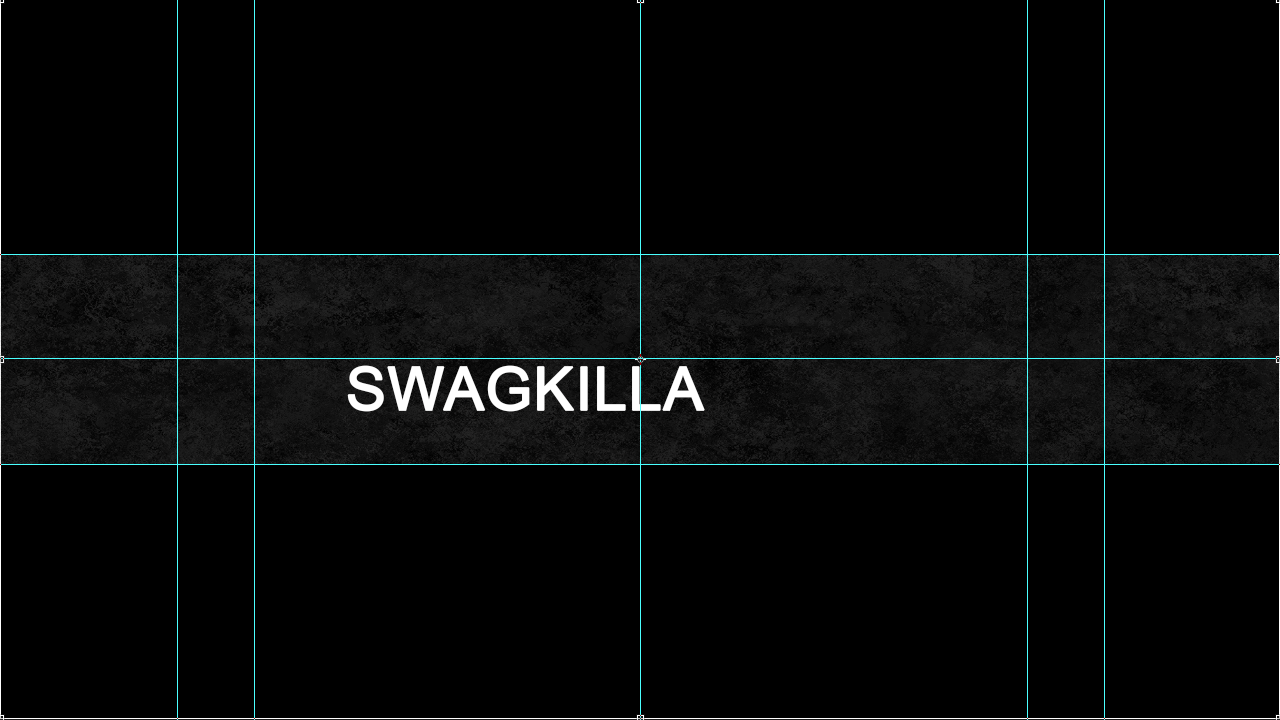
This is the hardest step IMO to explain. Select the solid black layer and press CTRL-T. The layer should go into free transform mode, like when you placed the texture earlier. Enable rulers by going view>rulers, or hitting CTRL-R. Drag from the ruler at the top to the little circle in the middle that appeared. Now drag from the side to the circle in the middle. Now hit enter to exit transform mode.
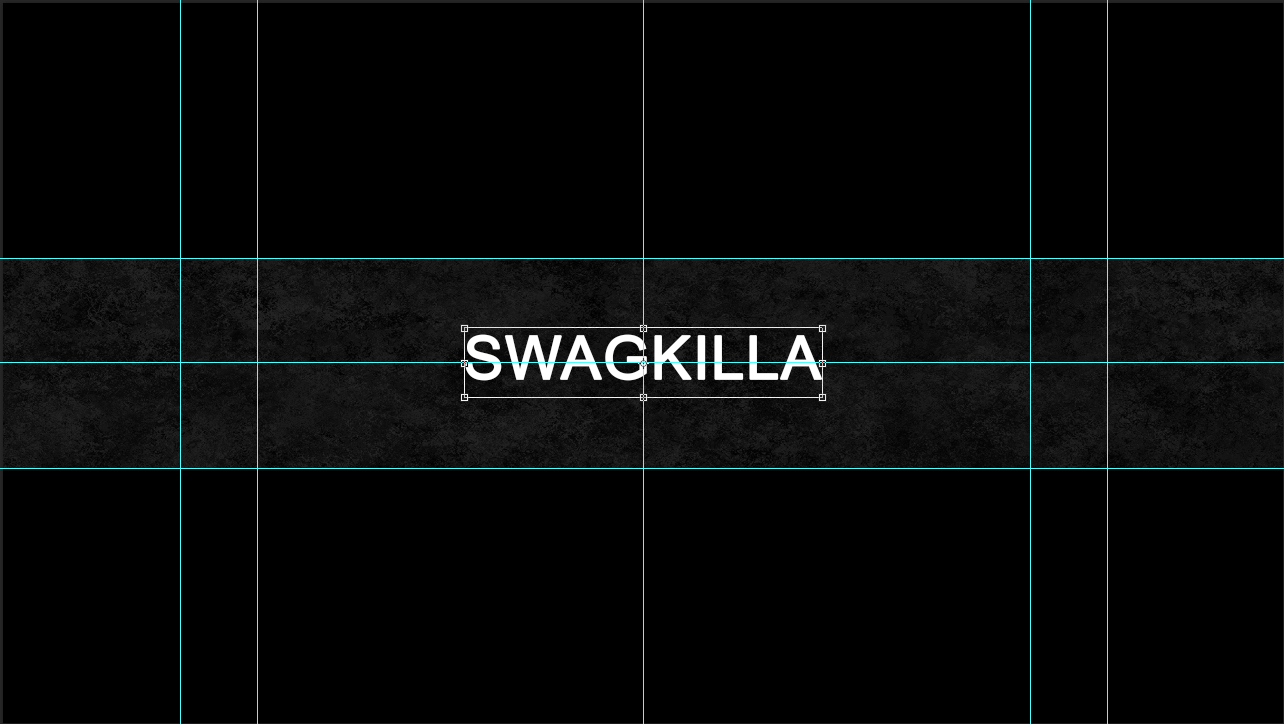
Now go CTRL-T on the text layer, and drag it so that it is in the center too.
STEP 8: MORE TEXT
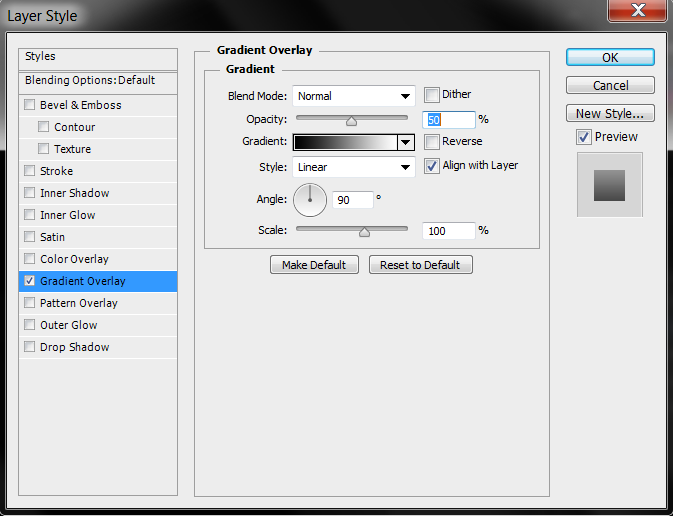
STEP 9: STYLING TEXT
Right click on your first text layer and go here

Add a gradient
Add a drop shadow
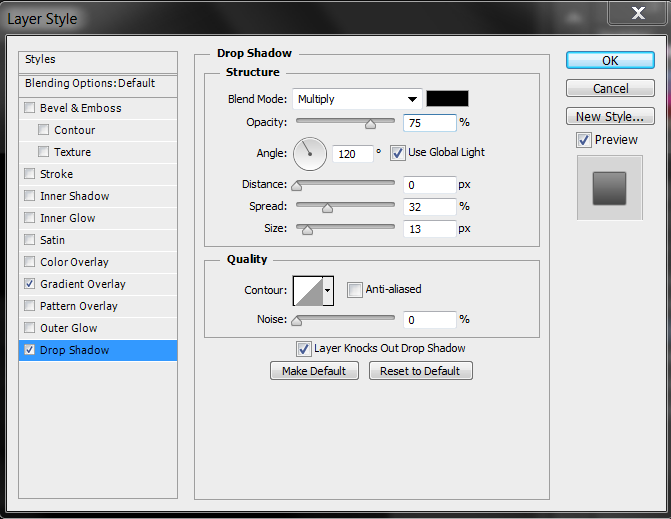
Repeat on your second text layer, and drag the second text layer below your first.
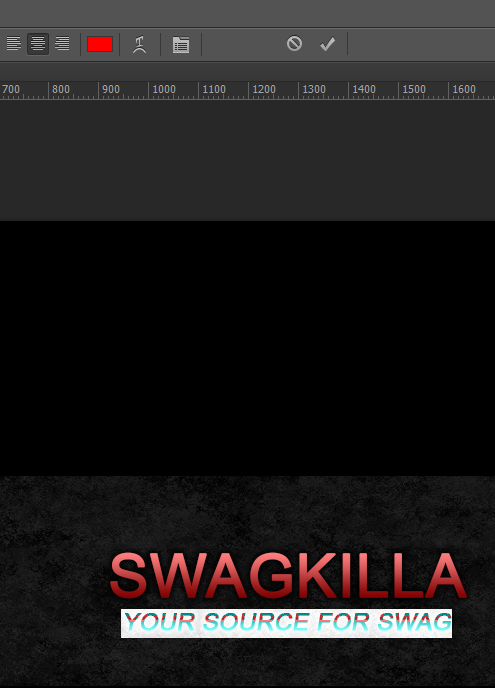
STEP 10: FURTHER OPTIONS
Add simple effects like the ones below
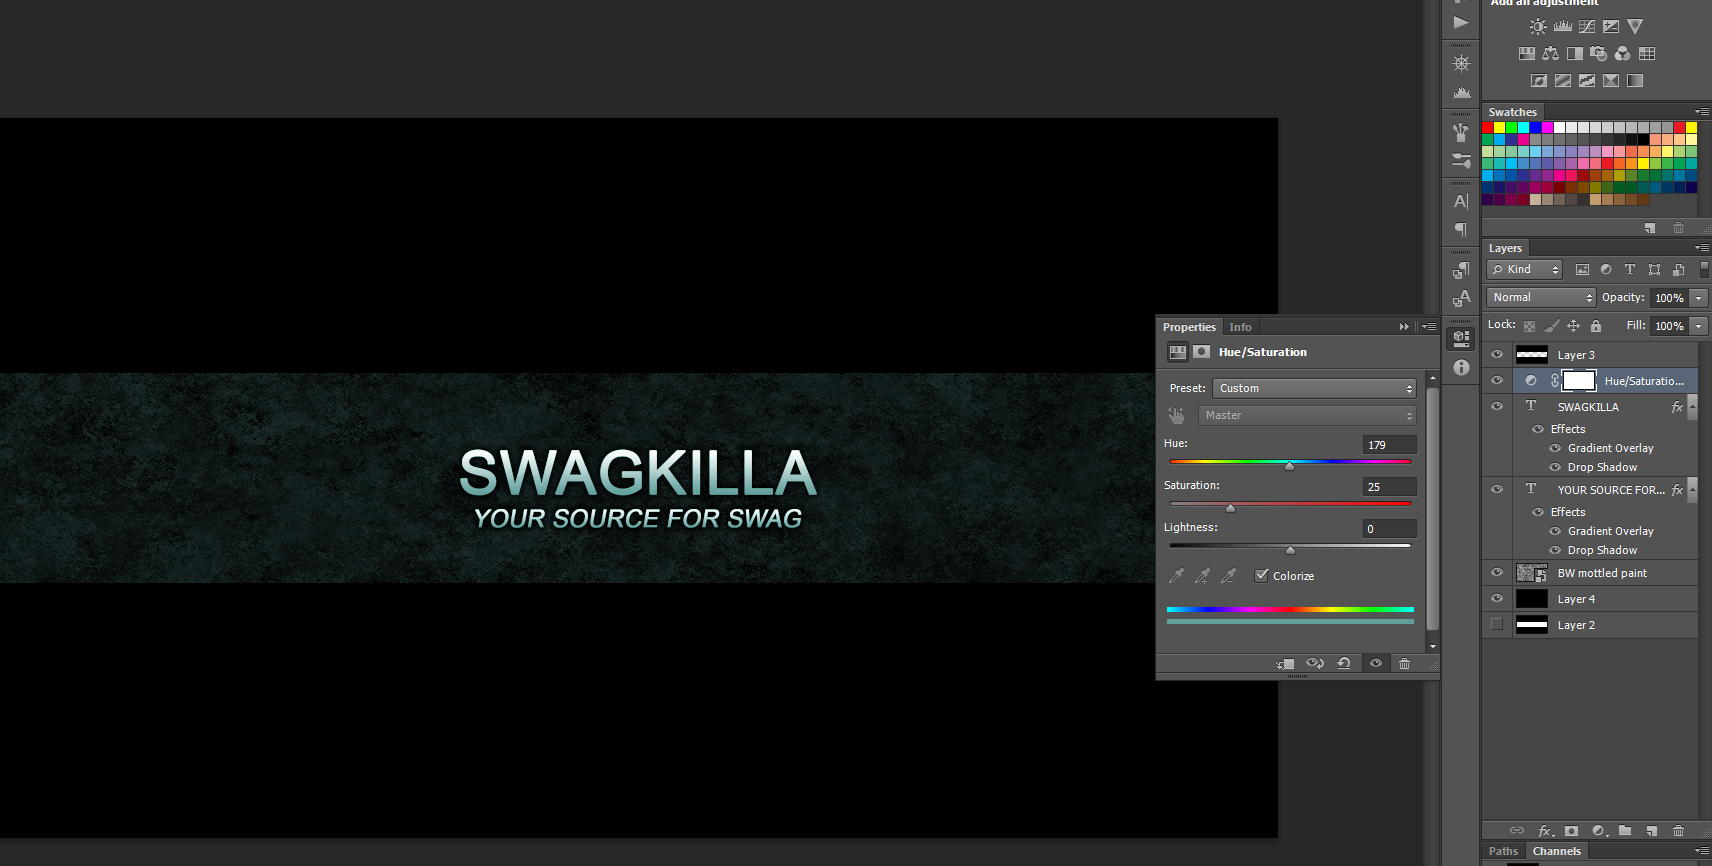
Add a Hue/Saturation adjustment with the following settings for a chill blue
Double-click a text layer and change the colour
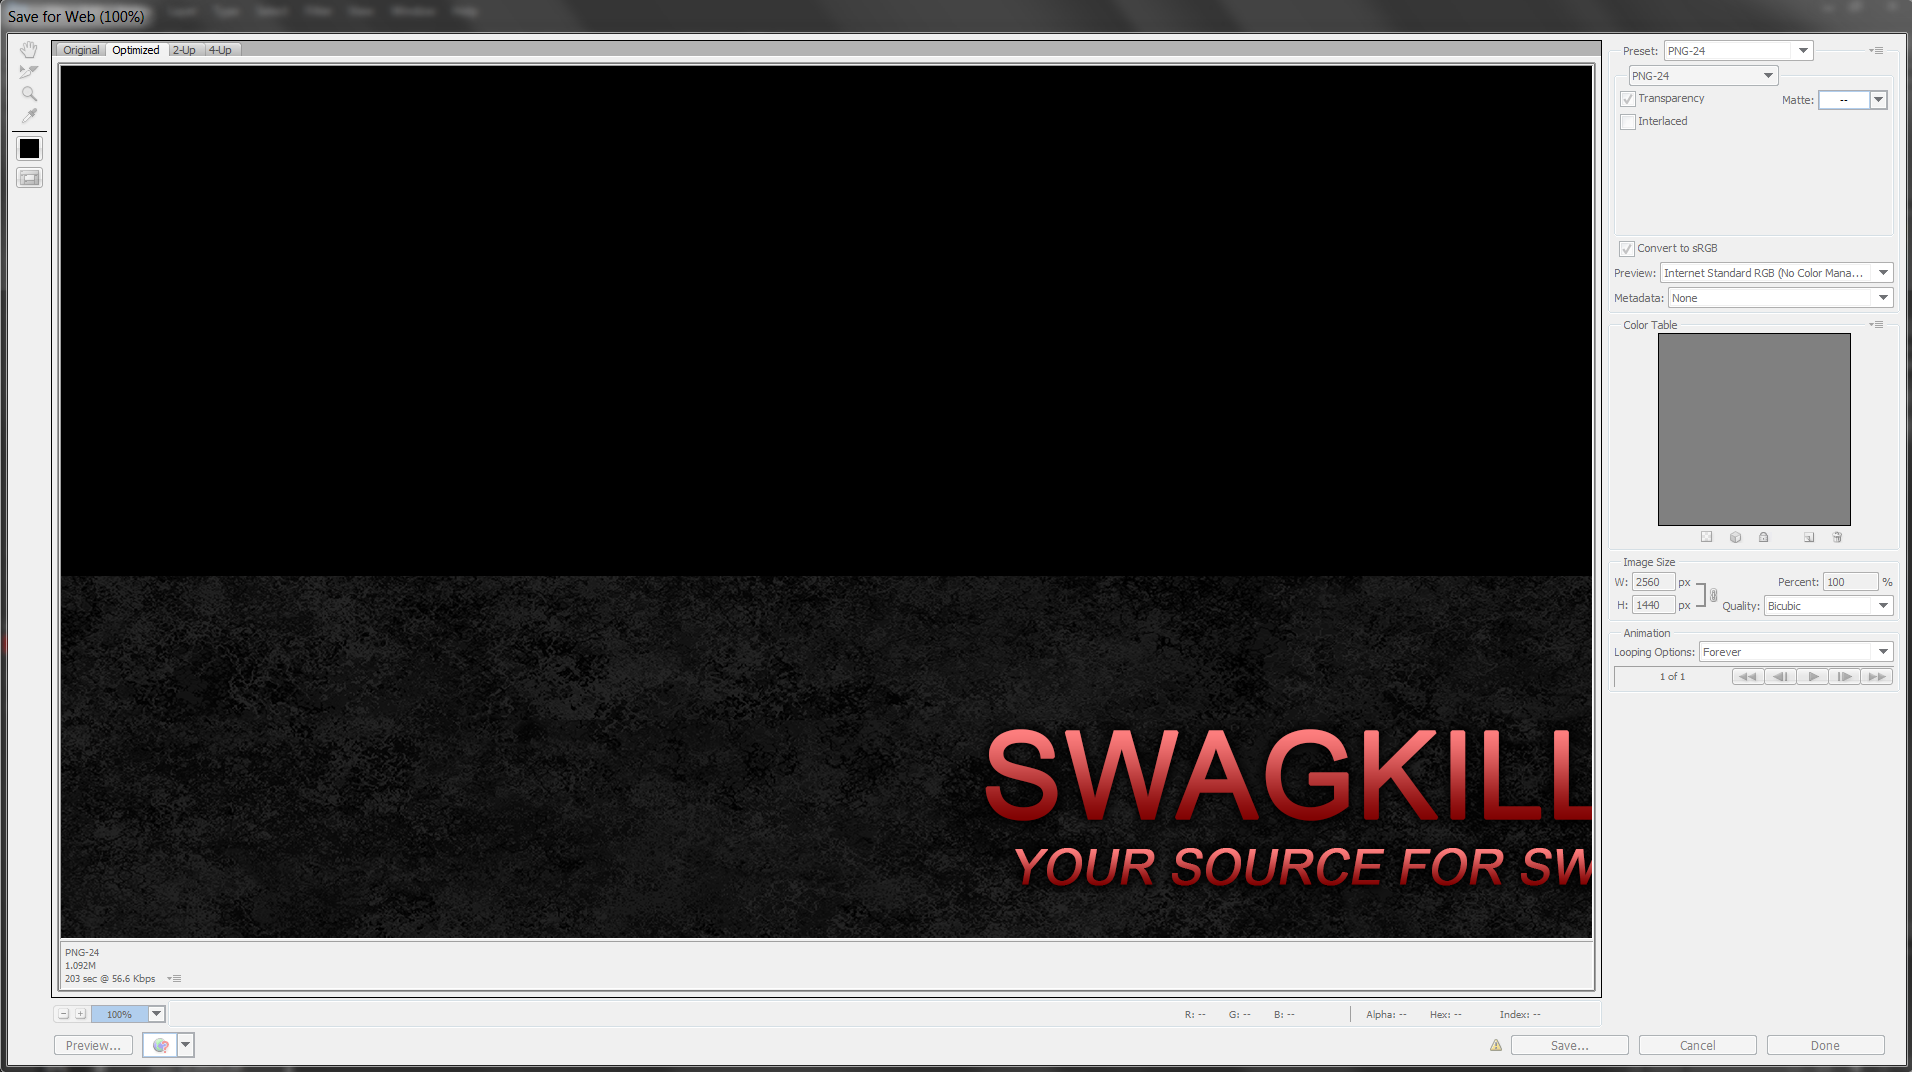
STEP 11: SAVE AND UPLOAD
File>SAVE FOR WEB these settings, enjoy!
Any questions, please contact me (not here though, I can't use PMs here). Once again, this has been LJ from Odd Premise.
